Description
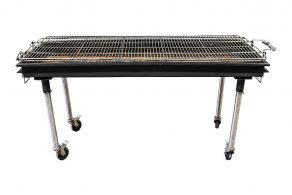
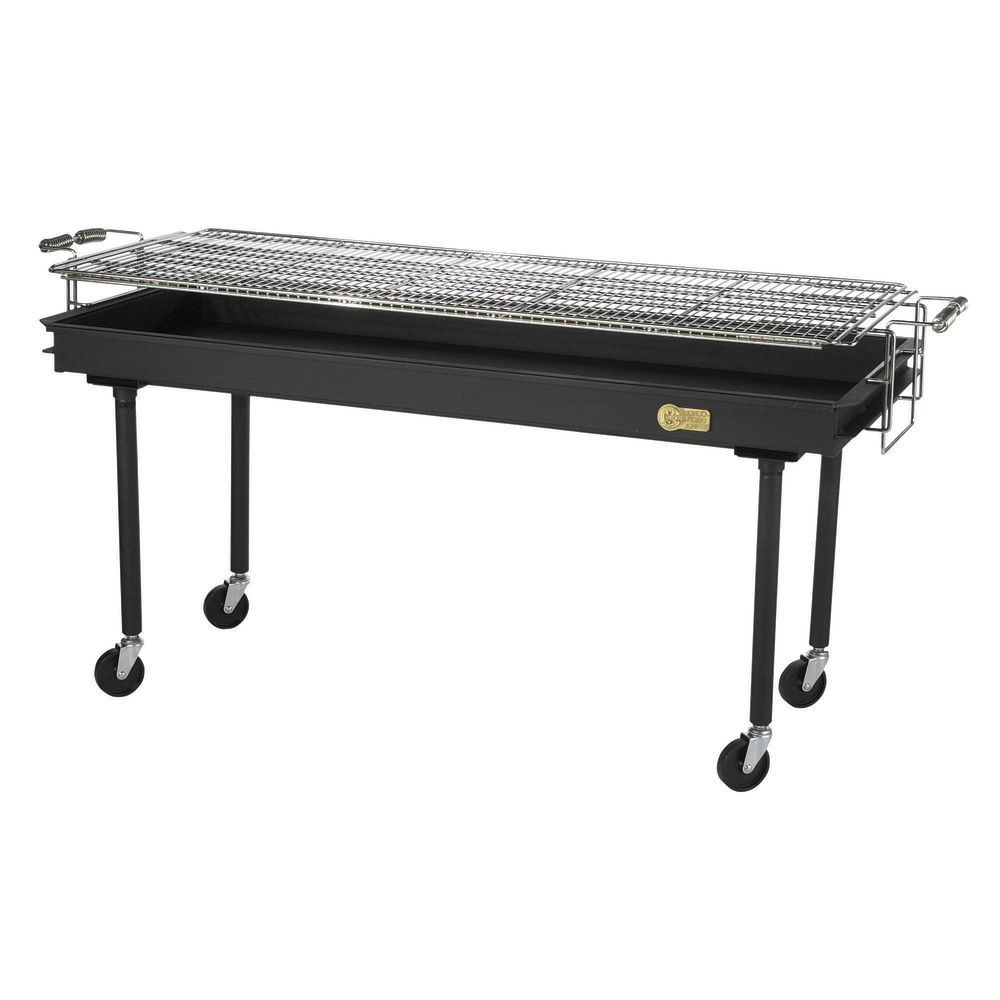
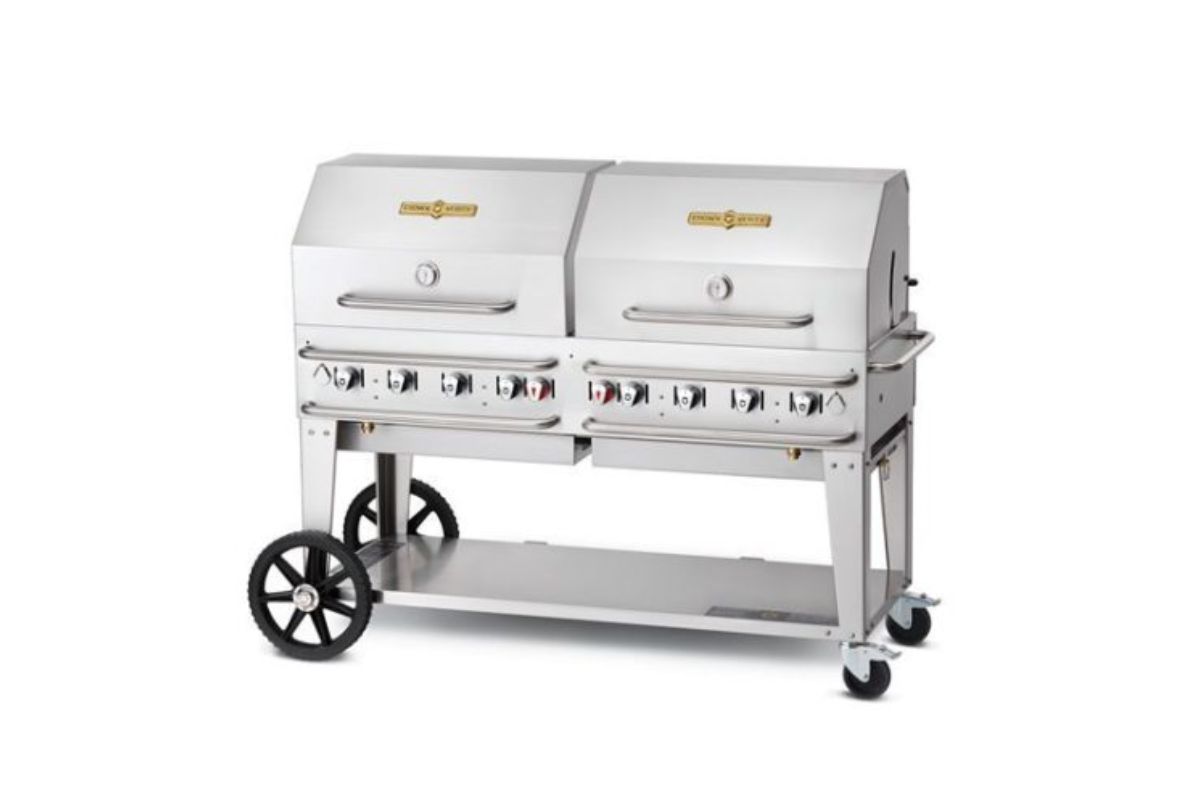
60″ Mobile BBQ – Your Ultimate Grilling Companion!
Make your next event a flavorful success with the 60″ Mobile BBQ, the perfect solution for school events, backyard BBQs, weddings, corporate gatherings, and more. Designed to handle large crowds and diverse menus, this BBQ will bring the heat and flavor to your next big occasion.
Key Features:
🔥 Ample Cooking Capacity
Dimensions: 69″ x 28″ x 36″ — Spacious enough to handle a large crowd and cook a wide variety of food, from juicy steaks to sizzling burgers.
🔋 Propane Powered Performance
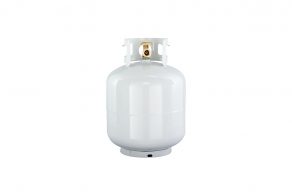
Fueled by two standard propane tanks (available for rent at $50 + HST each), this BBQ has ample power to get your grilling game to the next level.
🧼 Cleaning Fee
A $30 cleaning fee applies to all BBQ and grill rentals to ensure everything is spotless after your event.
Transportation/Setup Instructions:
-
Water in Pans: Before lighting the BBQ, fill the water pans under the unit with water and keep refilling them during cooking to maintain safety.
-
Mount Propane Tanks: Securely attach one or two 20 lb. propane tanks to the back of the unit.
-
Secure Hoses: Hang the gas hoses on the hose hangers located under the rear legs during transportation.
Lighting the BBQ:
-
Connect Propane Tanks: Ensure the hoses are securely tightened to the propane tanks.
-
Open Hood/Dome: Double-check that all knobs are in the OFF position before lighting.
-
Ignition: Turn on the gas slowly and wait 15 seconds before lighting. Use a long stick-type lighter to ignite the lighter tubes and then the main burners.
-
Check Burner Lighting: Ensure all burners that need to be on are lit, and adjust the flame to your preference.
After Use:
-
Turn Off Gas: Ensure all gas control knobs are in the OFF position. Disconnect hoses and remove propane tanks.
-
Empty Water Pans: Be cautious as the water pans will remain hot for some time after use.
-
Check All Pieces: Confirm all BBQ components are present before returning.
Make Your Event Sizzle!
Ready to fire up your next event? With the 60″ Mobile BBQ, you’ll have a versatile grilling machine that delivers flavor-packed results and creates unforgettable moments for your guests. Fire it up, and let the grilling begin!
*Please note* our BBQ rentals are not available for pickup